Design your desk setup.
A practical guide to building a desk that looks designed, not assembled. Start with the desk, then layer up, piece by piece.
Some links below are affiliate links. We may earn a small commission if you buy through them, at no extra cost to you. We only list gear we'd put on our own desks.
What makes a space you want to work in?
So what makes your office actually feel like a space you want to work in, instead of a spot you tolerate for eight hours? It's rarely one big thing. It's a handful of small, deliberate choices that agree with each other, the desk, the screen, the surface you touch all day, and the few pieces around it that make it feel like yours.
Most desks are assembled, not designed. Things land one by one, a monitor, a keyboard, cables, until the surface is just a pile you happen to work on. This guide builds it the other way around: one layer at a time, each choice setting up the next, until the whole thing reads as considered. Start at the top and work down.
Start with the desk.
Everything sits on the desk, so it sets the tone for the whole room. Choose it first and build the rest to agree with it. Two things matter most: the size and the timber.
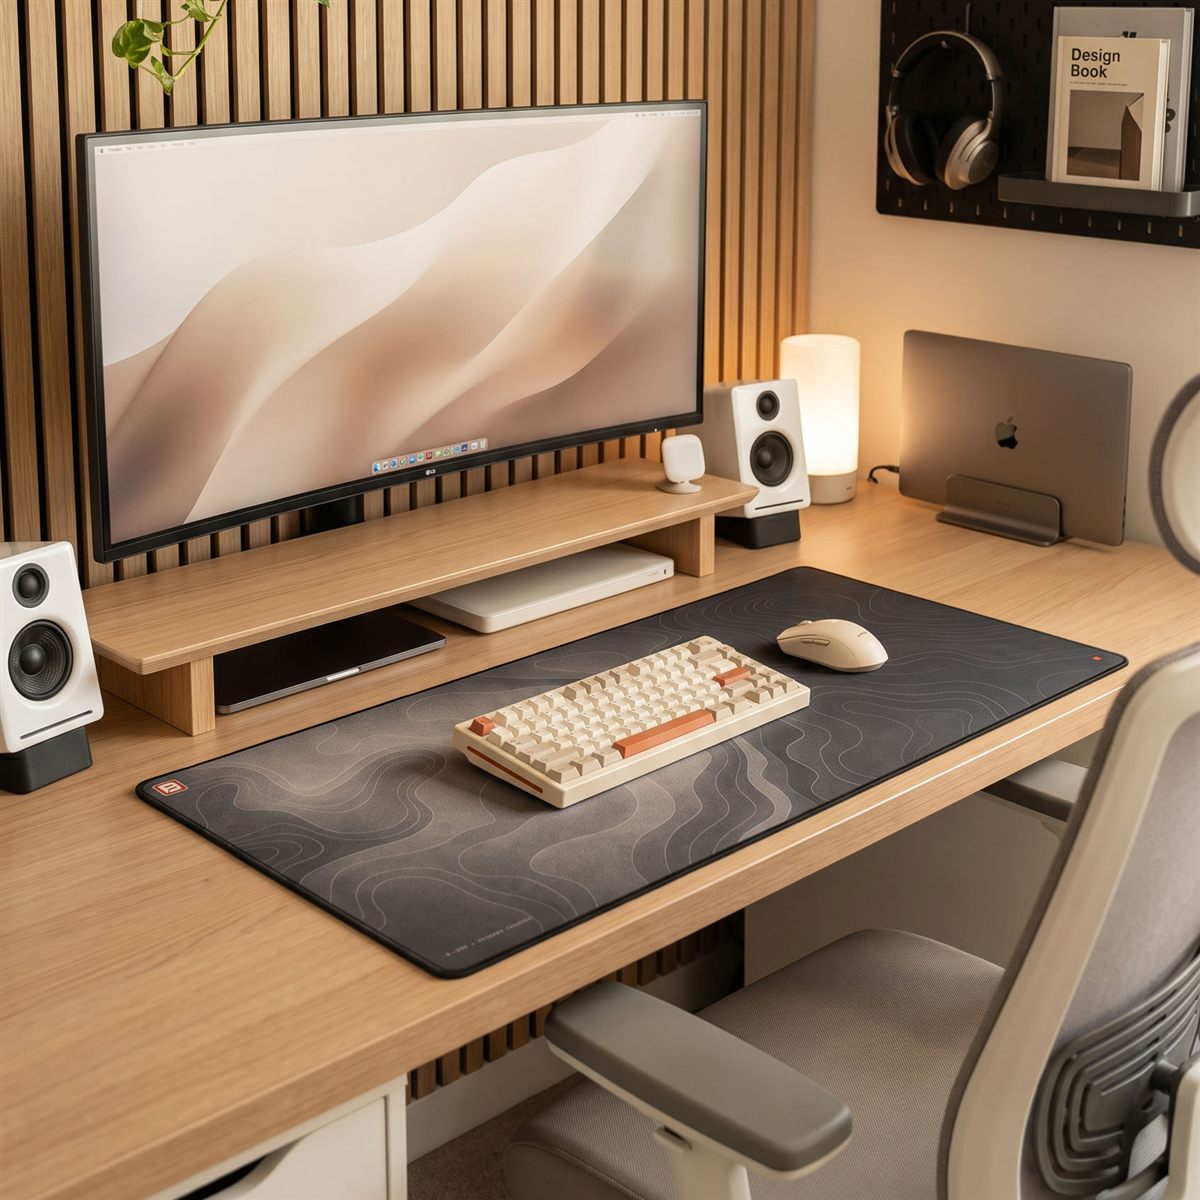
Go as wide as the room sensibly allows, a desk that's too small is the most common regret. Then pick your wood, because three tones cover almost every setup:
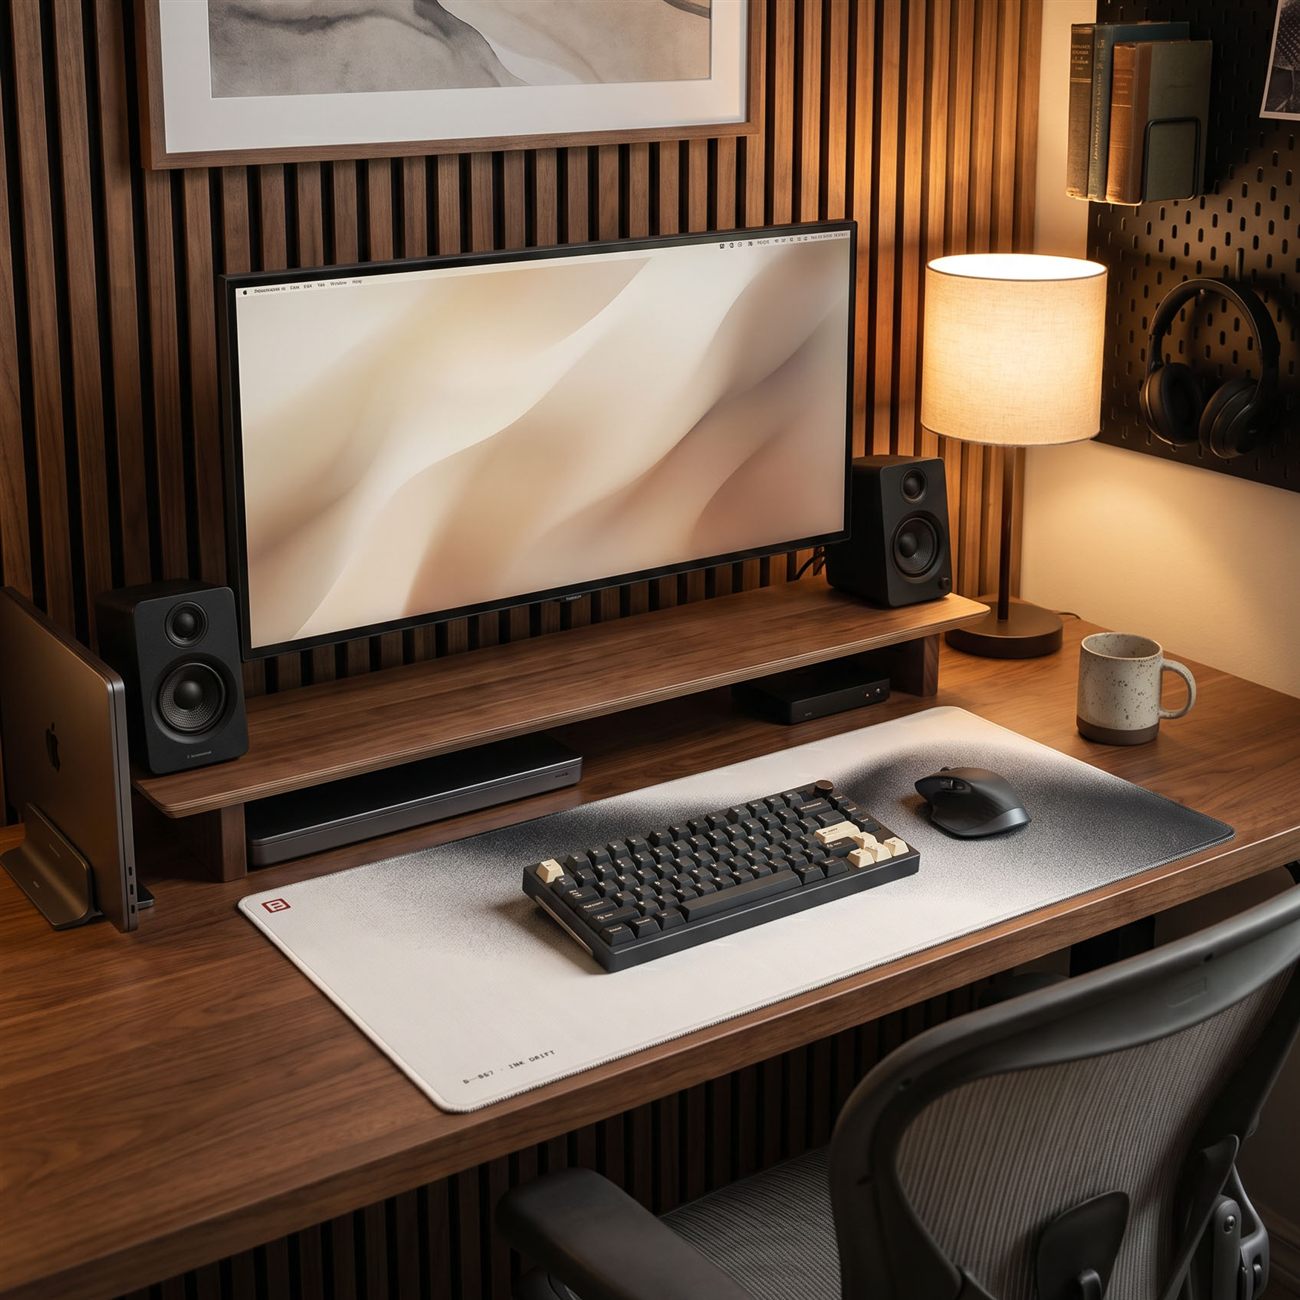
- Walnut is warm and dark, a little editorial, and the most premium-looking of the three.
- Oak is golden and mid-toned, the easy all-rounder that suits almost any room.
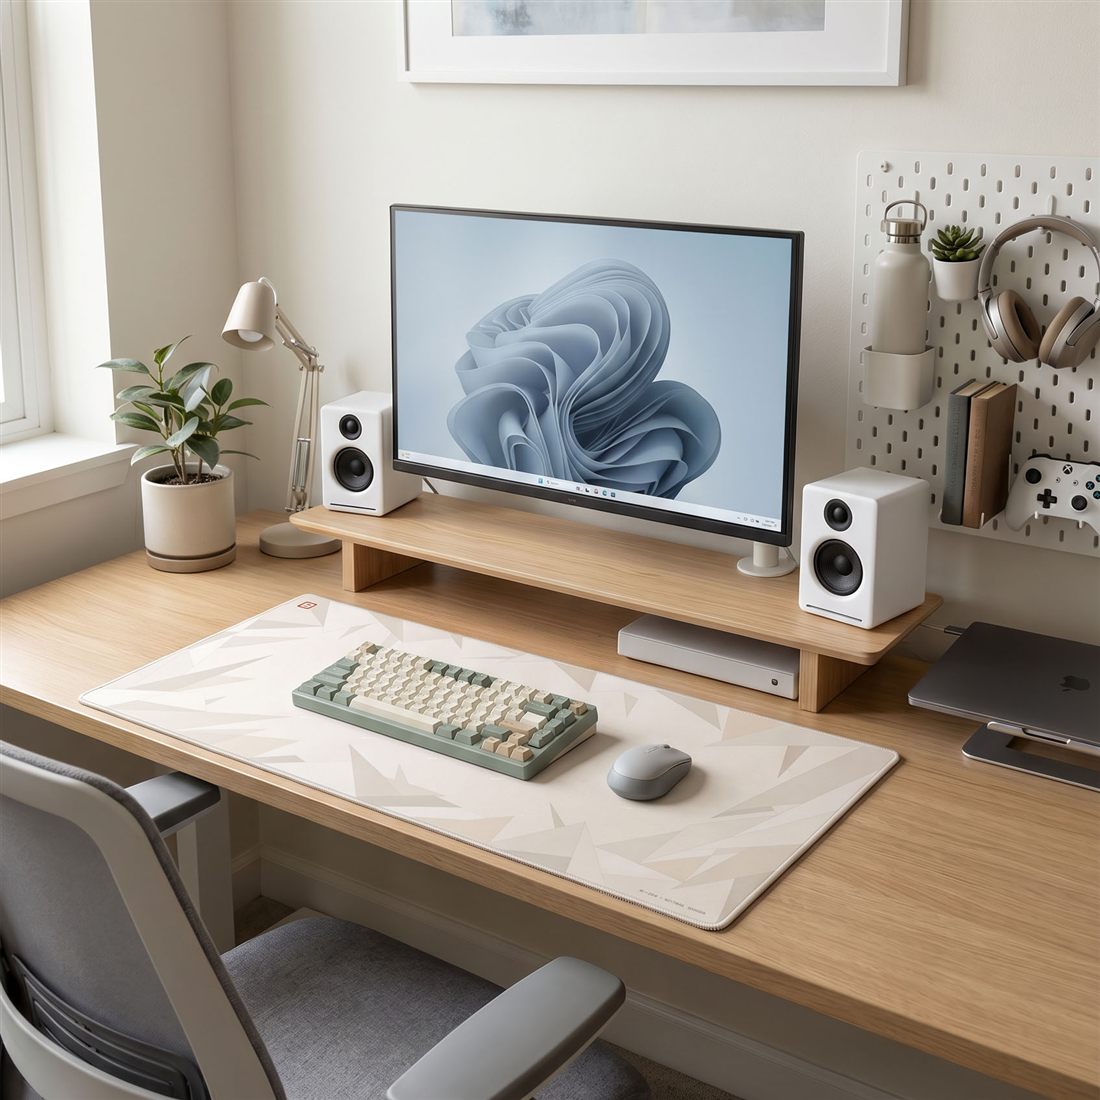
- White is clean and bright, and it makes a smaller home-office desk feel bigger.
Whichever you land on, commit to it, the wood is the anchor and everything else gets matched back to it. A height-adjustable sit-stand frame is worth it too: same look, but you're not locked into one posture all day.
Lift the screen on a stand that matches.
A monitor sitting flat on the desk drags the whole setup down, literally and visually. Raising it on a stand or riser is the single change that makes a desk look intentional and feel better to sit at, and it's where the setup starts to come together.
Get the top of the screen roughly at eye level. That keeps your neck neutral and your shoulders back instead of hunched forward, so you get better posture and alignment and far less fatigue across a full day. You end up looking straight ahead, not down into your chest.
Then match it to the desk. A riser in the same timber tone as your desk ties the surface together so it reads as one considered piece, not a stack of parts, and the space underneath quietly swallows a keyboard, notebook or charger. Short on depth? A monitor arm does the same height trick and frees the surface entirely.
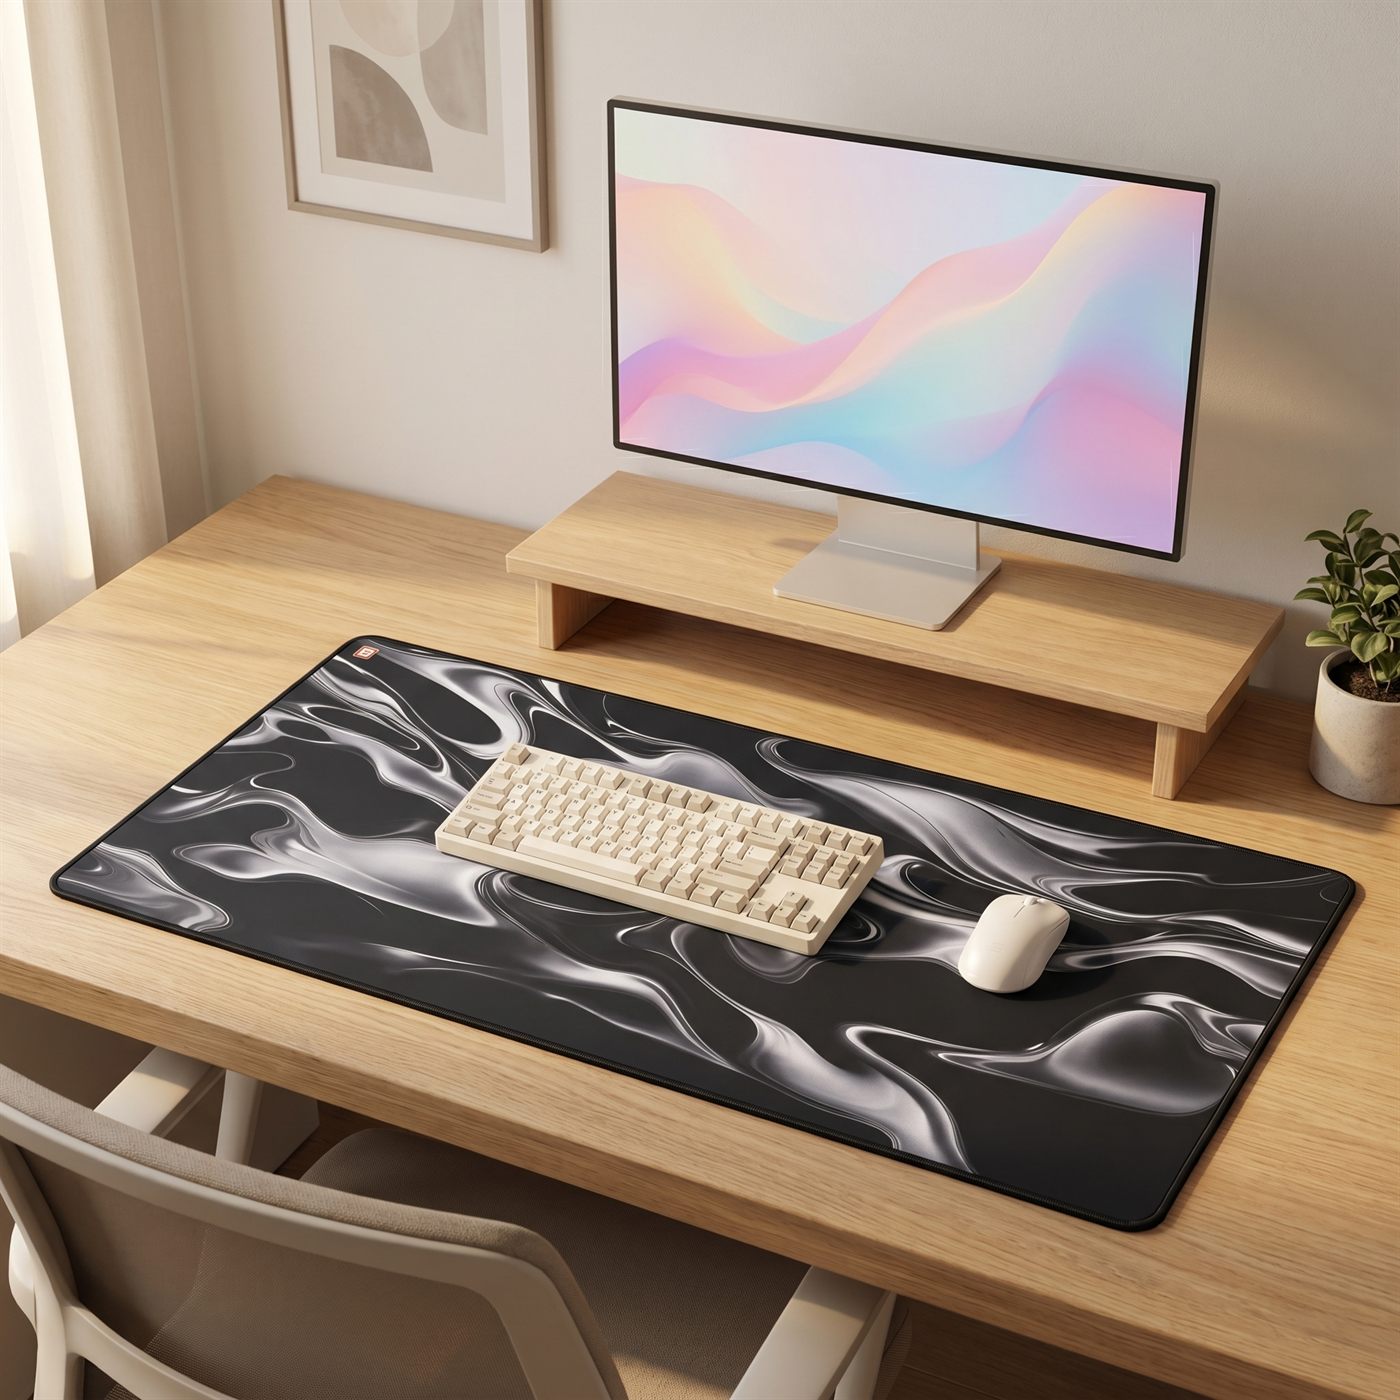
Lay down the desk mat.
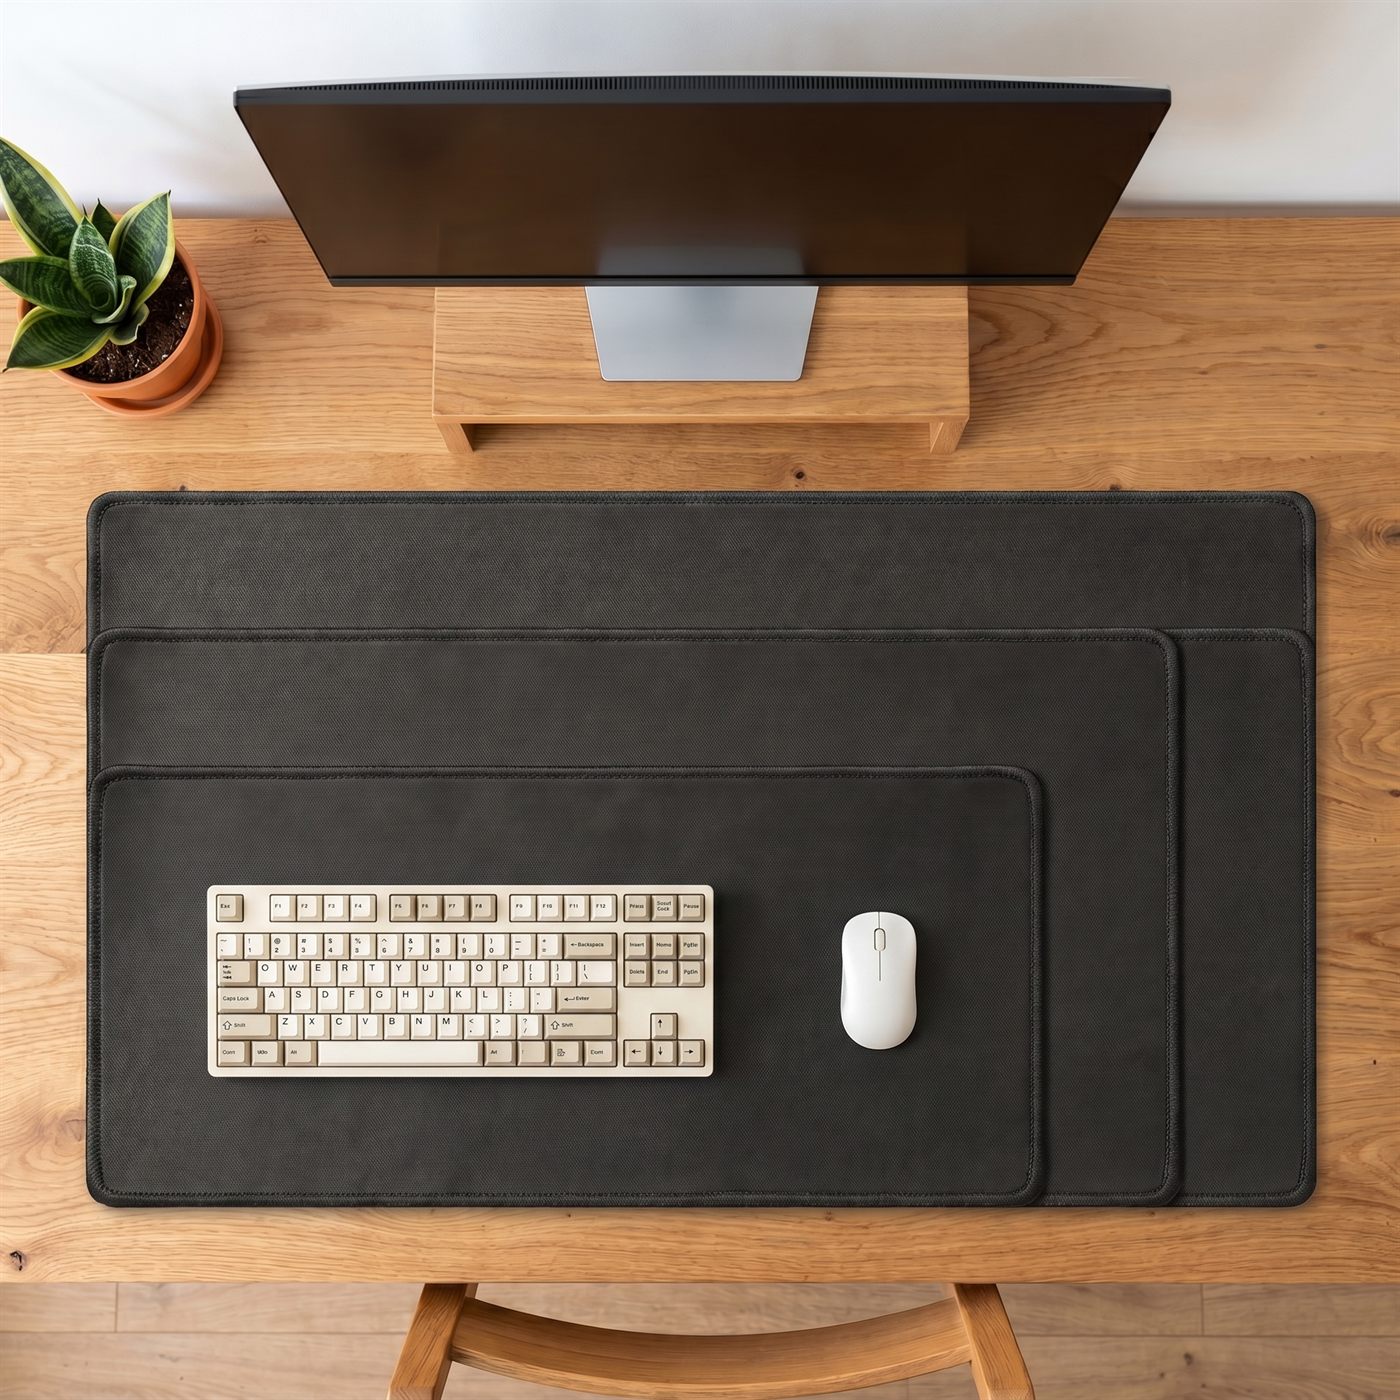
This is the layer we're slightly biased on, but it's also the one that does the most for the least. The mat is the rug of the desk: it draws a clear zone, pulls the keyboard and mouse into one scene, and restyles the entire surface in a single move.
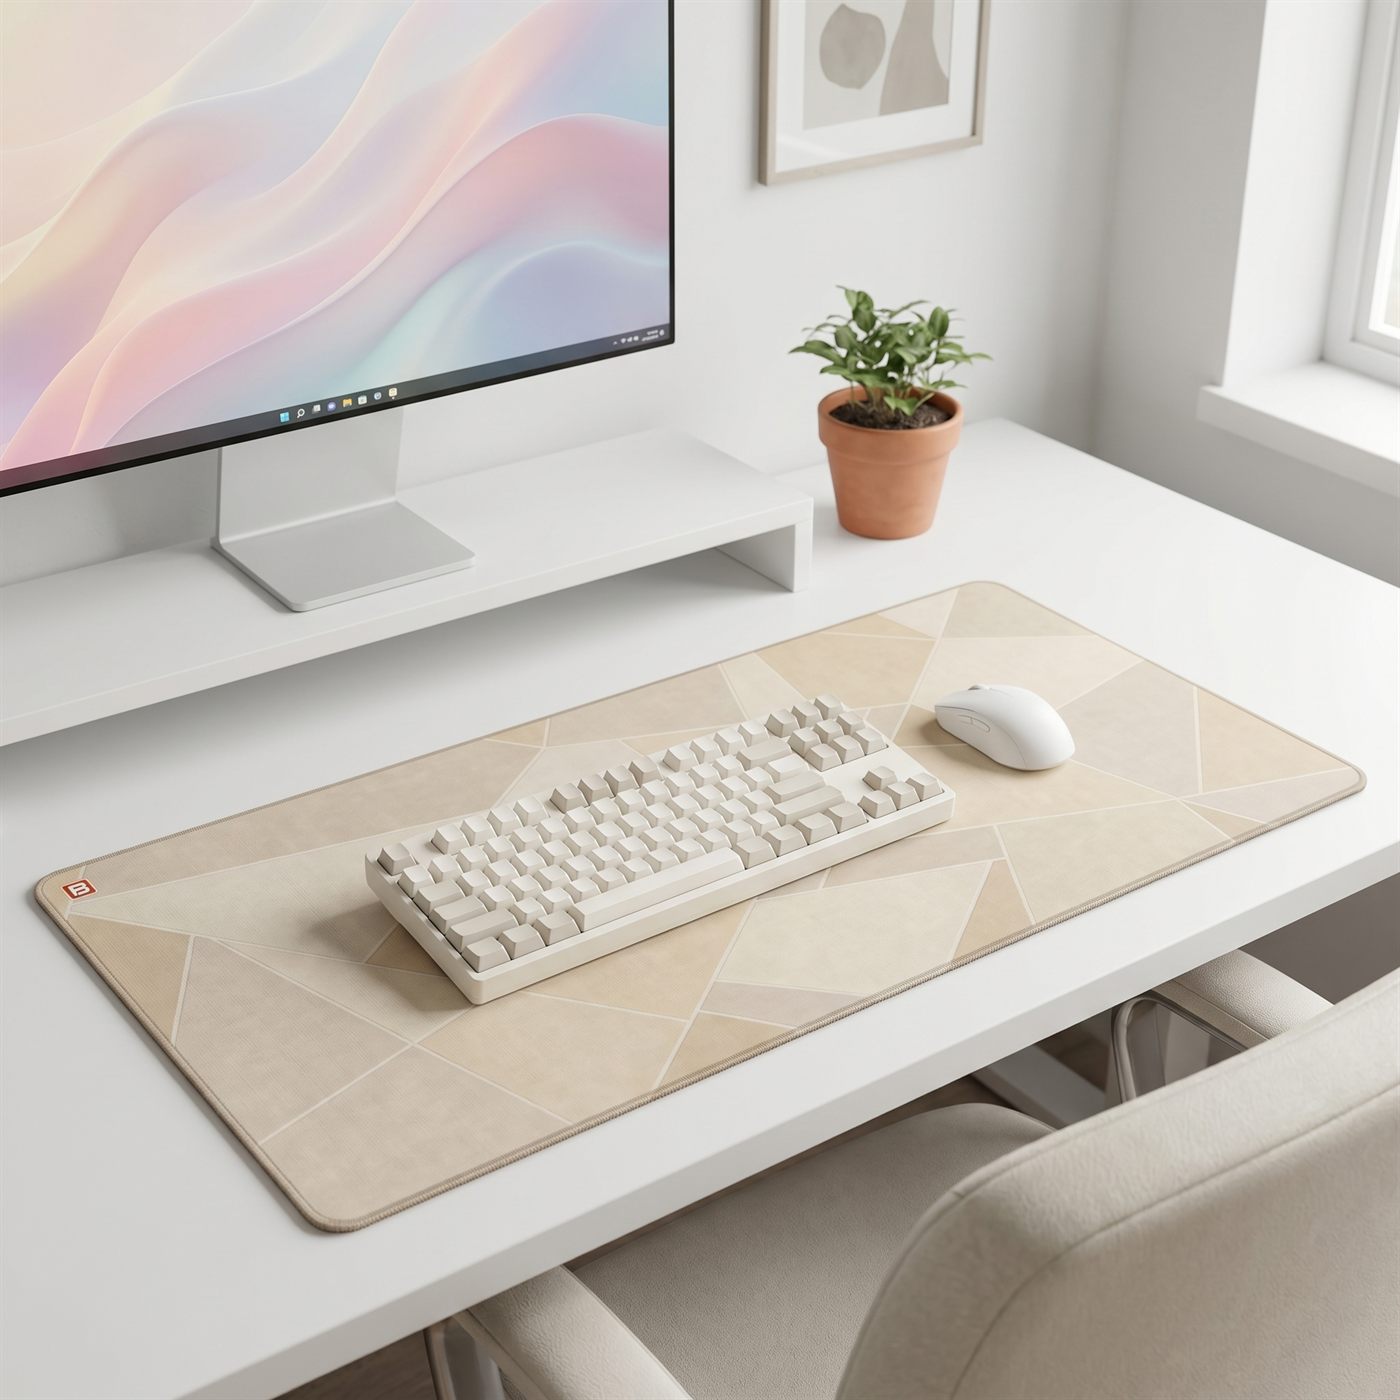
Match it to your timber, warm woods want warm neutrals, while white desks can take cooler greys and bolder prints. Centre it, sit your keyboard and mouse on it, and the desk suddenly has a front and a back instead of stuff scattered edge to edge. It protects the surface from scratches and spills too, and it's the cheapest way to change the whole look without buying new furniture.
Go as large as the desk allows, full-width coverage always reads more deliberate. Not sure on size? Start with the desk mat size guide.
The part you actually touch.
You spend all day with your hands on these two, so buy for feel first and looks second, then get both. A good mechanical keyboard changes how the work feels; a low, quiet, tactile profile suits a calm desk, while chunkier keycaps lean playful.
Keep the colourway tight. Cream, grey or black keys disappear nicely into a designed setup, save the rainbow RGB for the gaming rig. For the mouse, comfort in your hand beats the spec sheet, and a clean, low-profile shape in a tone that agrees with the keyboard keeps the input layer looking like one set. Both glide best on a cloth mat, which you conveniently just sorted.
Get clutter off the surface.
A clear surface is what makes everything else look designed, so the gear that doesn't earn a spot on the desk needs a home. The best move is to go vertical, and a pegboard is the most flexible way to do it.
A desktop pegboard stands at the back of the desk and holds headphones, cables, a phone and the small stuff on hooks and shelves, off the surface but still in reach. A wall-mounted pegboard does the same job for a tighter desk and turns storage into part of the look. Either way the rule is the same: everything gets a place, and the desk stays clear. A couple of cable clips under the desk tidies the floor up too.
Dress the wall behind it.
Whatever's behind your desk is in shot on every video call and in your eyeline all day, so it's worth two minutes of thought. A blank wall reads unfinished, while a couple of considered pieces make the whole setup feel like a room.
Keep it simple: one larger framed print, or a tight cluster of two or three smaller frames hung at eye level just above the monitor. Match the frame finish to your desk tone, warm wood frames with timber, thin black or aluminium with white. Echo a colour from your mat in the art and the desk suddenly looks styled rather than assembled. Resist filling the whole wall, a little breathing room is the point.
The finishing layer.
The last ten percent is what makes a desk feel like yours instead of a showroom. Keep it to a few things, done well: sound, light, a bit of greenery, and a small piece of wood to warm up all the metal and glass.
A pair of small powered speakers does more for the room than any RGB ever will. A desk lamp adds warmth after dark and a bit of sculpture by day, warm in the evening, cooler by day. One plant softens the hard edges, and a wood pen or pencil holder gives the little stuff a home so the surface stays clear.
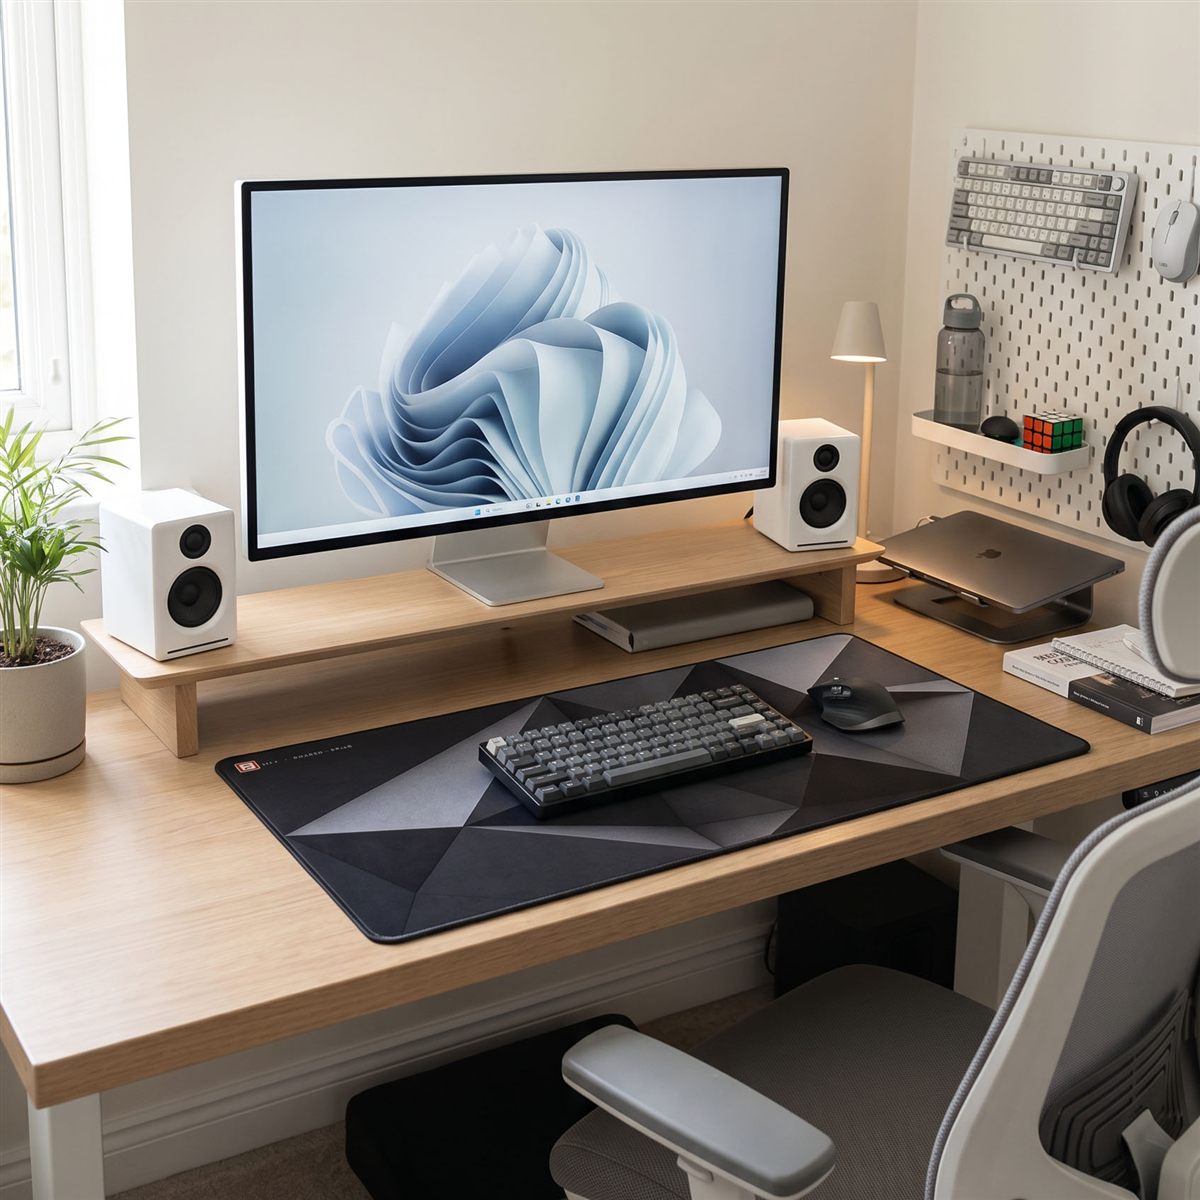
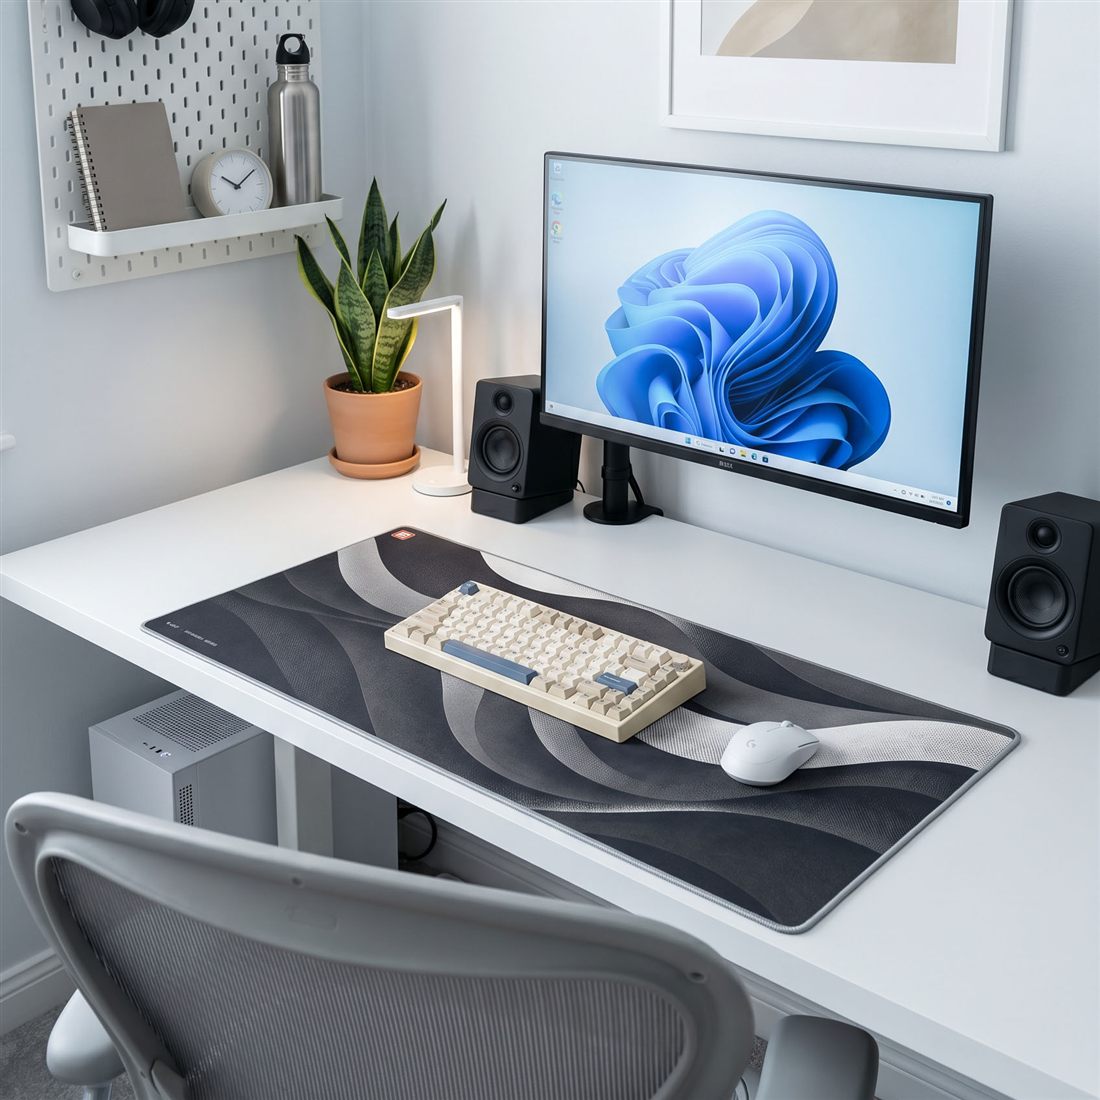
That's the whole recipe: a desk you chose, a screen lifted to match, a mat to anchor it, gear that feels good in the hand, storage off the surface, a dressed wall, and a few finishing pieces. Get those agreeing with each other and the desk reads as designed, on any budget. Here's how it comes together across three timber tones.
- MatBACKSTOCK Signature
- DeskDesky, walnut
- RiserDeskka Walnut
- LightBenQ ScreenBar
- KeysKeychron
- SoundAudioengine A2+
- MatBACKSTOCK Signature
- DeskDesky, oak
- ArmDesky Monitor Arm
- KeysKeychron
- MouseLogitech
- WoodDeskka pen holder
- MatBACKSTOCK Classic felt
- DeskDesky, white
- RiserDeskka White Ash
- LightBenQ ScreenBar
- MouseLogitech
- SoundAudioengine A2+
Desk setup questions, answered.
How do I make my desk setup look aesthetic?
What do I need for a minimalist desk setup?
What's the cheapest way to upgrade a desk setup?
How do I match my desk setup to my room?
What makes a good home-office desk setup?
Start with the floor.
Everything here builds on the mat. Ours launch soon, join the list for first access and 10% off your first order.
Shop desk mats →